How to make a mouse trailer using HTML, CSS, and JavaScript.
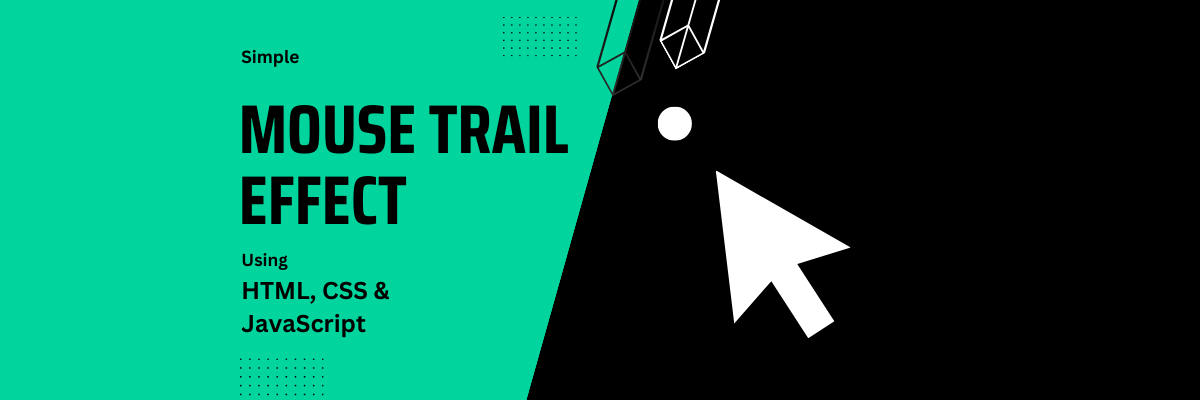
Engaging users and giving them an fun experience are essential in the realm of web design. There are numerous approaches to achieving this, and we'll look at one of them today: integrating a simple mouse trailer that moves with the cursor.
This tutorial will walk you through the process of making a simple mouse trailer that will delight your website's visitors and might make them stay longer on your website.
Demo
We have implemented the same thing on this current website on which you are reading this article :P :P
Lets get started!!
HTML Structure
First lets set up the HTML structure necessary for our mouse trailer effect. We have a section which will be a container for our mouse trailer, you can also directly place the mouse trailer inside body tag.
<section>
  <div class="trailer" id="trailer"></div>
</section>
CSS Styling
We will give the section some base styling of height, width and background, so that our mouse trailer is visible.
Next we will style the mouse trailer with the basic styles. Few important properties here are
- position This will keep the trailer in the visible window and viewport.
- top and left This will initially position the trailer to top left corner.
- z-index This will keep the trailer on top of all other contnet on the web page.
- mix-blend-mode This will sets how trailers color/content should blend with the content of the other element's background.
section {
  width: 100%;
  height: 100vh;
  background: #1d1e22;
}

.trailer {
  height: 10px;
  width: 10px;
  border-radius: 50%;
  background: #ffffff;

  position: fixed;
  left: 0px;
  top: 0px;
  z-index: 1000000;

  mix-blend-mode: difference;
  pointer-events: none;
}
By now you can see the mouse pointer on the top left corner of the screen.
JavaScript
With the help of some simple JavaScript, we can make the trailer element follow the cursor with a subtle animation.
const trailer = document.getElementById("trailer");

const animateTrailer = (e, interacting) => {
  const x = e.clientX - trailer.offsetWidth - 10;
  const y = e.clientY - trailer.offsetHeight - 10;
  const offSetCorrection = 15;

  const keyframes = {
    transform: `translate(
                  ${interacting ? x + offSetCorrection : x}px,
                  ${interacting ? y + offSetCorrection : y}px)
                  scale(${interacting ? 5 : 1})`,
  };

  trailer.animate(keyframes, {
    duration: 1000,
    fill: "forwards",
  });
};

window.onmousemove = (e) => {
  const interactable = e.target.closest(".interactable"),
    interacting = interactable !== null;
  animateTrailer(e, interacting);
};
- First we will get our trailer div and store it in a const.
- Next we will create a method "animateTrailer" which will take event "e" and an extra variable "interacting" to add a scale animation when the trailer is near an dom element with "interactable" class.
- In the method "animateTrailer", first we will calculate the x and y position for our trail with the help of event e from which we will get the cursor position.
- We will be adding a small offset to the trail so that its not resting on our cursor but a little bit away from it.
- Next we will create the transform property using the X and Y values we calulated and also we will add the scale property for interactable elements.
- As you can see we have also added offset correction when interacting is true, so that the trail div will move to the cursor position on any interactive div. Refer the codepen example or play around our website by hovering on different links to see this effect.
- Next we will pass this "keyframes" transform property to ".animate" method with "duration" and "fill: forwards", the fill forwards in important as it will keep the trail on the last position of the cursor if the cursor goes off the page.
- Finally we listen to "window.onmousemove" method and call our animateTrailer method in it and pass the event and interactable params.
And that's it, we have a simple and fun interaction for your website.
Always remember to create a balance between visual appeal and usefulness when using such effects. Test with various shapes, sizes, and hues to match the mouse trailer to your website's color scheme and theme.
Support Us: